Why Choose a Whipped Cream Canister?
If you love adding fluffy, delicious toppings to your desserts, cupcakes, or beverages, investing in a whipped cream canister is a game-changer. Unlike store-bought whipped cream that may contain preservatives, a canister allows you to create fresh, customizable whipped cream at home. The result is a lighter, fluffier topping that enhances every bite of your favorite treats.
Healthier Options at Your Fingertips
With a whipped cream canister, you have complete control over the ingredients. You can choose organic heavy cream or even create dairy-free versions with coconut cream, almond milk, or other alternatives. This means you can make whipped cream that suits your dietary needs while avoiding unnecessary additives.
Understanding How a Whipped Cream Canister Works
The science behind a whipped cream canister is quite simple yet fascinating. A canister uses nitrous oxide (N2O) cartridges to whip air into the cream, creating a light and airy texture. When you squeeze the trigger, the gas rapidly expands and incorporates air into the cream, resulting in a fluffy topping that holds its shape beautifully.
Components of a Whipped Cream Canister
Familiarizing yourself with the main parts of a whipped cream canister will enhance your whipping experience:
- Body: The main container filled with cream.
- Head: Where the nozzle is located, allowing for easy dispensing.
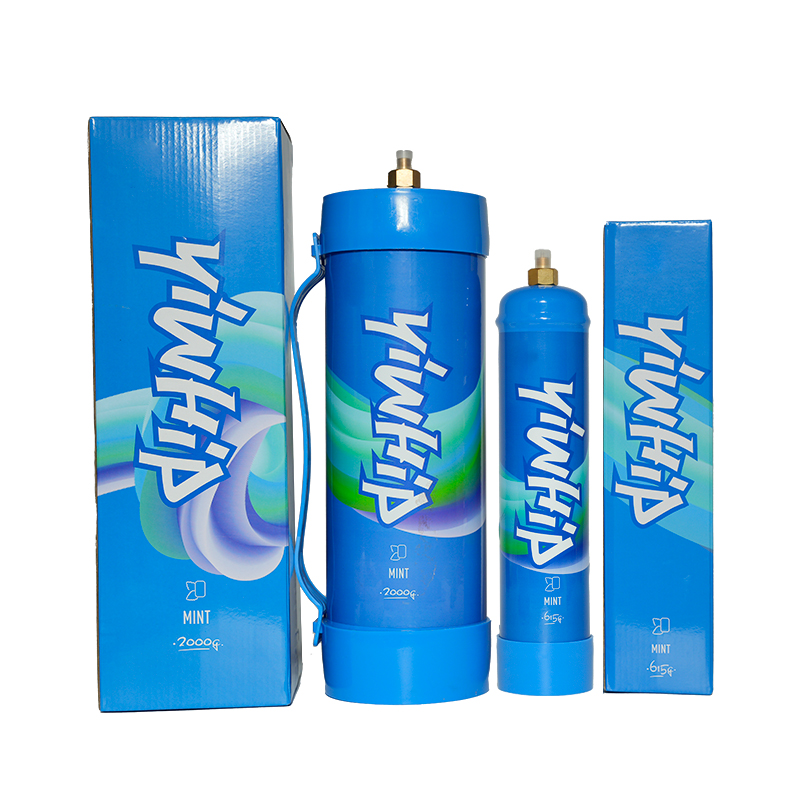
- Nitrous oxide cartridges: These provide the gas necessary for whipping the cream.
Step-by-Step Instructions for Whipping Perfect Cream
Ready to try your hand at making whipped cream? Follow these easy steps to get started:
Step 1: Gather Your Ingredients
You will need:
- 1 cup of heavy cream (or your choice of cream)
- 2 tablespoons of sugar (more or less depending on your taste)
- 1 teaspoon of vanilla extract or other flavorings (optional)
Step 2: Prepare the Canister
Make sure your whipped cream canister is clean and dry. Pour the cream, sugar, and any flavoring into the canister. Secure the top by screwing it on tightly.
Step 3: Charge It
Attach a nitrous oxide cartridge to the charger holder and screw it into the canister. You’ll hear a hissing sound as the gas enters the canister—this means the cartridge is working correctly. Shake the canister gently about 3-5 times to distribute the gas and cream evenly.
Step 4: Dispense Your Whipped Cream
Hold the canister upside down and gently squeeze the handle to dispense your whipped cream. Create beautiful clouds or dollops of cream on your favorite desserts!
Common Mistakes to Avoid
While using a whipped cream canister is straightforward, there are a few common pitfalls to be aware of:
Using the Wrong Cream
It’s crucial to select the right type of cream. Low-fat or milk alternatives may not whip properly, leading to a disappointing texture. Stick with heavy cream for the best results.
Overfilling the Canister
Leaves room for air expansion! Fill only to the indicated line, usually about 1/2 or 2/3 full, to ensure proper whipping and avoid leaking.
Creative Uses for Your Whipped Cream
Once you’ve mastered making whipped cream, consider using it in new and exciting ways:
Enhancing Beverages
Top off your coffee, hot chocolate, or cocktails with homemade whipped cream for a delightful twist. Adding flavored syrups can personalize your drinks even more.
Decadent Dessert Topping
Pile whipped cream onto cakes, pies, and sundaes. Get creative with flavored whipped creams like peppermint, chocolate, or strawberry to elevate your dessert game.
Conclusion: A Must-Have Kitchen Tool
Using a whipped cream canister is a fantastic way to bring freshness, versatility, and creativity to your culinary creations. It allows you to customize flavors and control the quality of the ingredients, resulting in whipped cream that is not only delicious but also better for you. Don’t settle for store-bought options—make your toppings fluffier and more delightful at home!

